BIOS Drivers
A computer's BIOS Driver is the very first software program to be executed when booting up your laptop or PC. It is considered to be the most fundamental layer of software in your entire system. Typically, the BIOS Driver is located on a chip on the computer motherboard. It performs a quick check-up of all hardware. It also is responsible for loading the operating system, such as Windows, from your hard drive. If your computer is failing to boot into Windows, or beeping and stalling before Windows begins to load, you are most likely dealing with a BIOS problem.
Find Driver Updates by BIOS Model
Driver Updates for Popular BIOS Models
Featured BIOS Device Driver Updates
How to Update Drivers to Fix BIOS Problems Quickly & Easily
Many BIOS problems can be fixed by updating the drivers. After you upgrade your computer to a new operating system, such as Windows 11, problems can occur because your current driver may work only for the prior version of Windows. There are two ways you can update your BIOS drivers.
Option 1 (Recommended): Update drivers automatically - Even computer newbies can update drivers with just a few clicks of a mouse. Use trusted software to identify, download and install the newest driver updates for your PC in one step. Your old drivers can be backed up and restored if you encounter any problems. You'll need novice to beginner level computer skills to use this method.
Option 2: Update drivers manually - Use DriverGuide to find the correct driver for your device and operating system. Next, download and install it by following the step by step instructions. You'll need average to intermediate level computer skills to use this method.
Option 1: How To Update Drivers Automatically
If you do not have the skill level or time to update your drivers manually, or are having difficulty finding the correct driver, you can do it automatically with the BIOS Driver Update Utility.
This utility is an intelligent program which will automatically recognize your computer operating system and device. Then, it will find the correct drivers for it. There is no need to know which specific operating system you have, and there is no risk of downloading and installing the wrong driver. Automatic driver updates eliminate mistakes when installing or updating drivers.
You can scan for driver updates automatically with the FREE version of the software, and complete all necessary driver updates with the premium version.
Download the BIOS Driver Update Utility.
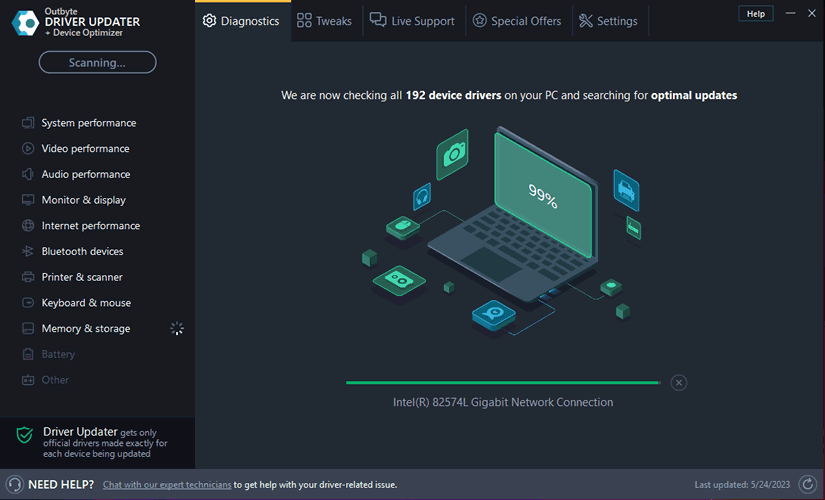
Run the driver update utility and click the green Scan Now button. Your system will be scanned and automatically detect any problem drivers.

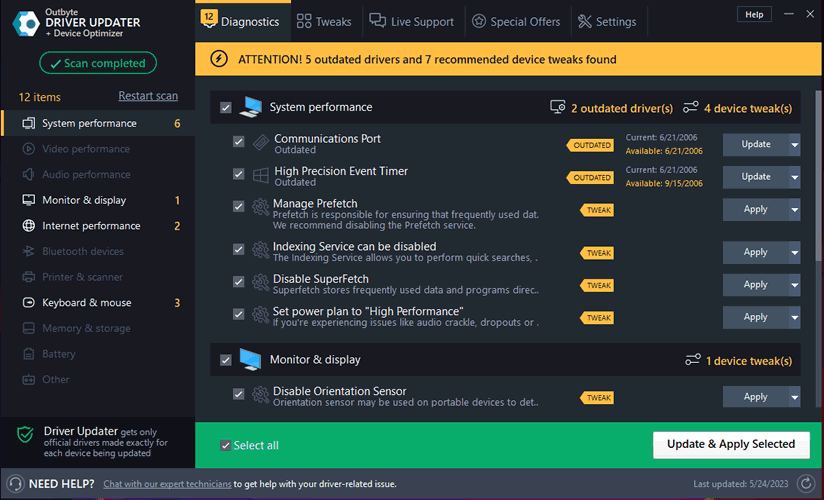
After the scan is complete, the utility will display a results page similar to the one below:

Click the Update button next to the out-of-date or missing driver. The correct version will be downloaded and installed automatically. Or, you can click the big green Update All button to automatically download and install the correct version of all the drivers that are missing or out-of-date on your system.
Once updating is complete, re-scan your system to verify that all drivers are up-to-date.
Option 2: How To Update Drivers Manually
To get the latest driver, including Windows 11 drivers, you can choose from our list of most popular BIOS downloads or search our driver archive for the driver that fits your specific BIOS model and your PC's operating system.
Once you have downloaded the new driver, next you must remove the current driver if it is installed. On a Windows PC, you do this by using a built-in utility called Device Manager. It allows you to see all of the devices attached to the PC, and the drivers associated with them.
Install Drivers With Device Manager
The BIOS driver should typically be located under a category called "Computer", or "System Devices." You will likely find several devices listed under these sections, since motherboards can contain several additional components. You may also find the device you are looking for under another category of Device Manager, depending on the device and whether or not it is integrated with the motherboard.
Locate the device that is having the issue and double-click on it to open the Properties dialog box.
Click the Driver tab.
Click the Uninstall button and follow the instructions.
To reinstall, you can either insert the disk you have from the manufacturer, or run the installer you have downloaded onto your computer and follow the instructions.
If you want to just update the driver instead of removing it, you can click the Update Driver button on the Properties window, and follow the instructions.
Visit our Driver Support Page for helpful step-by-step videos.